Last updated November 21, 2026
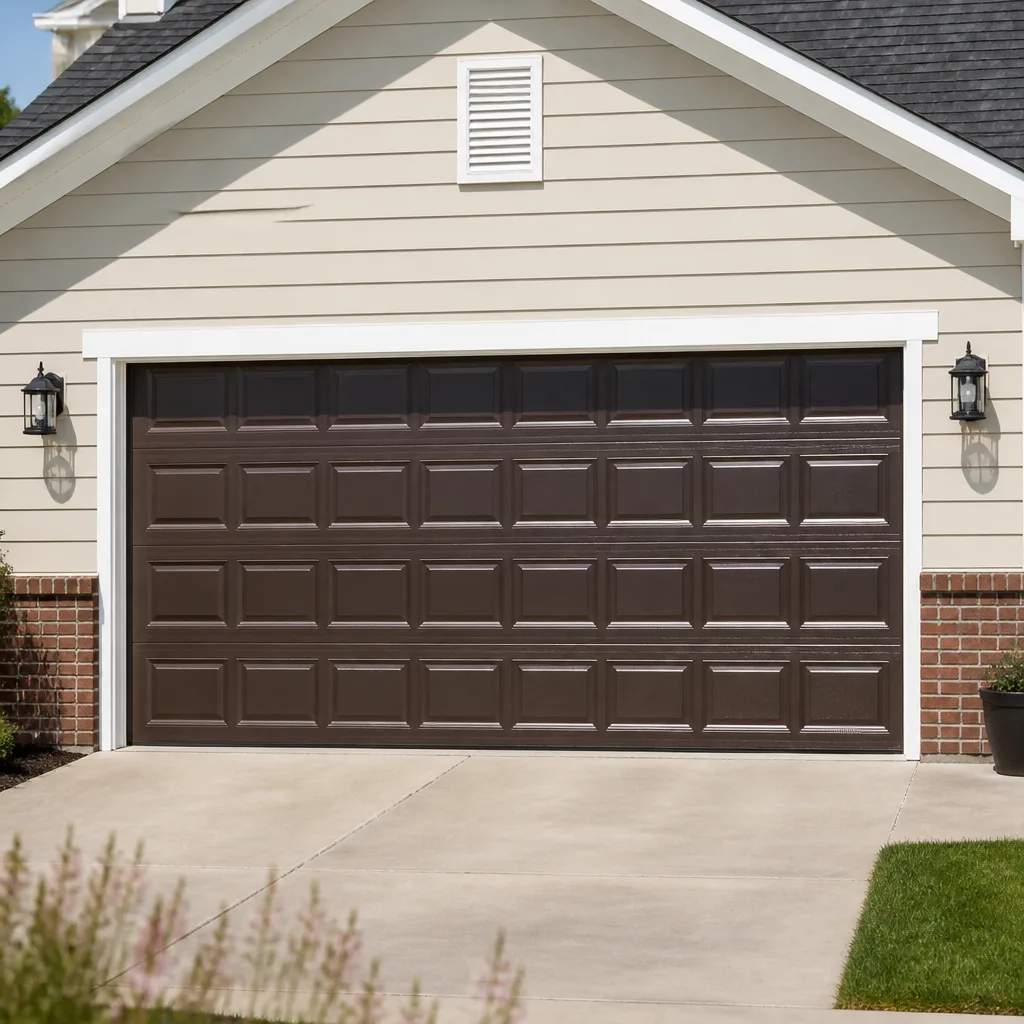 Raised-panel steel
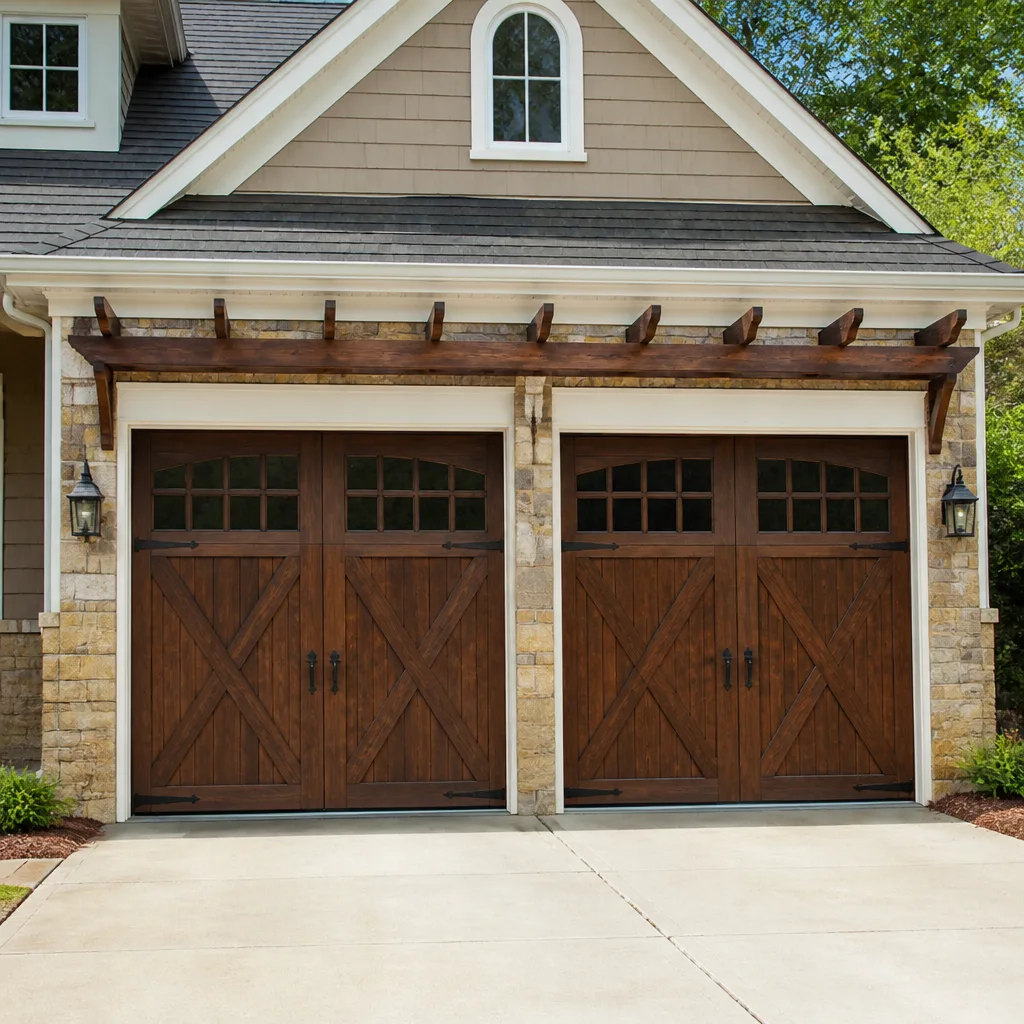 Carriage house
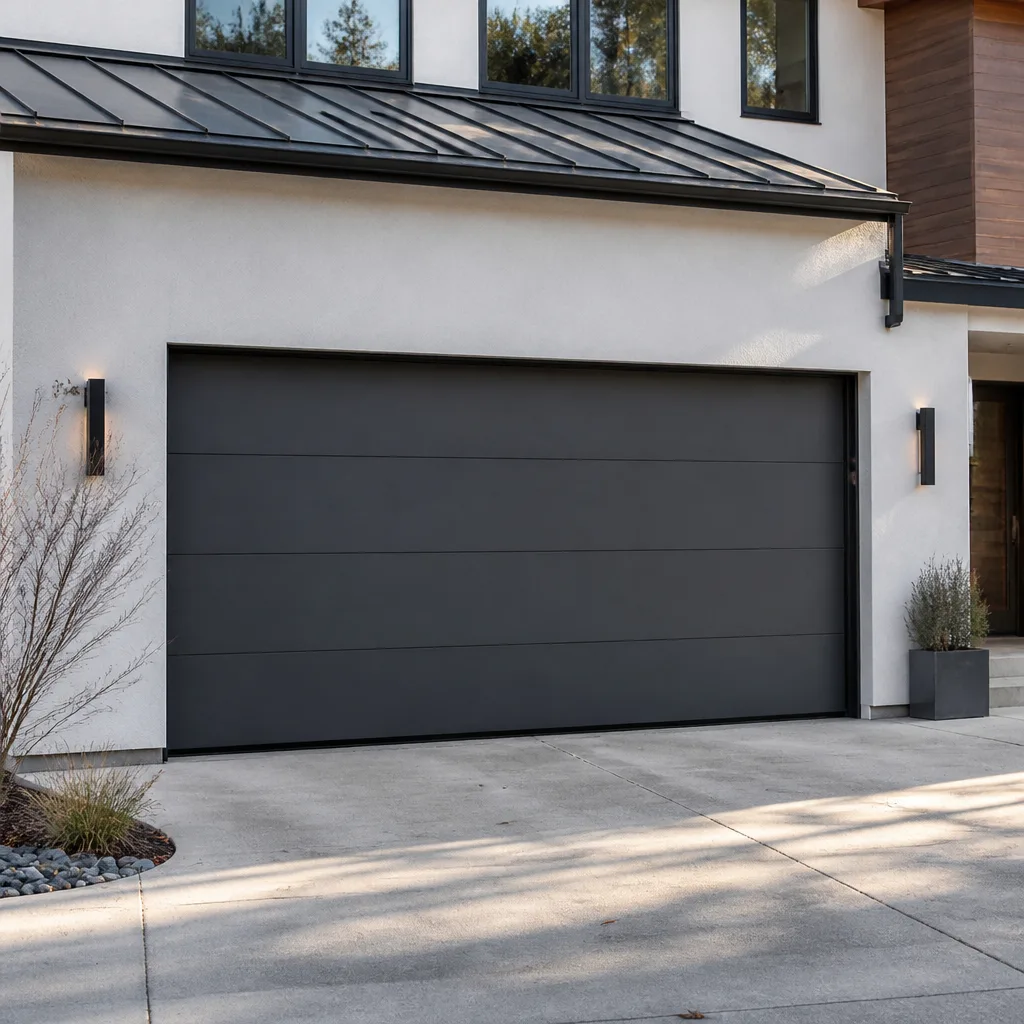 Modern flush
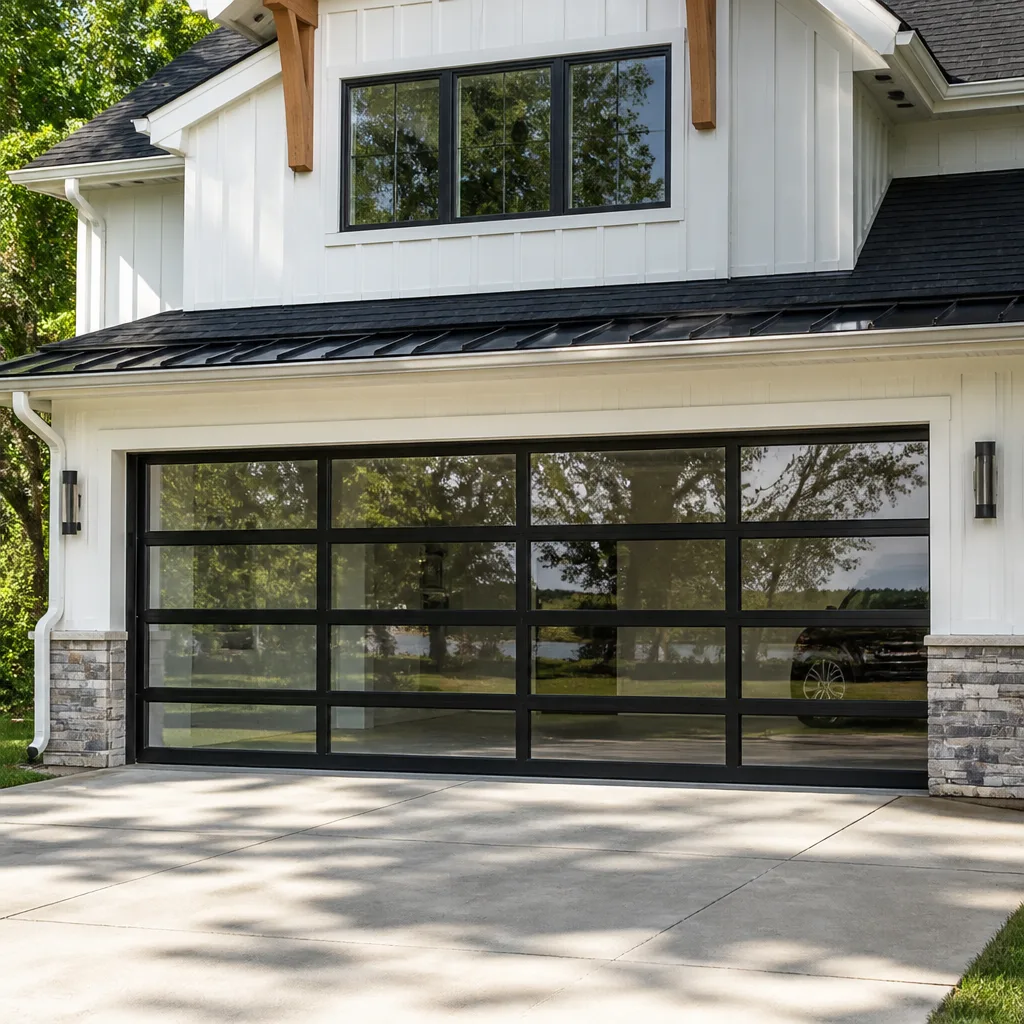 Full-view glass
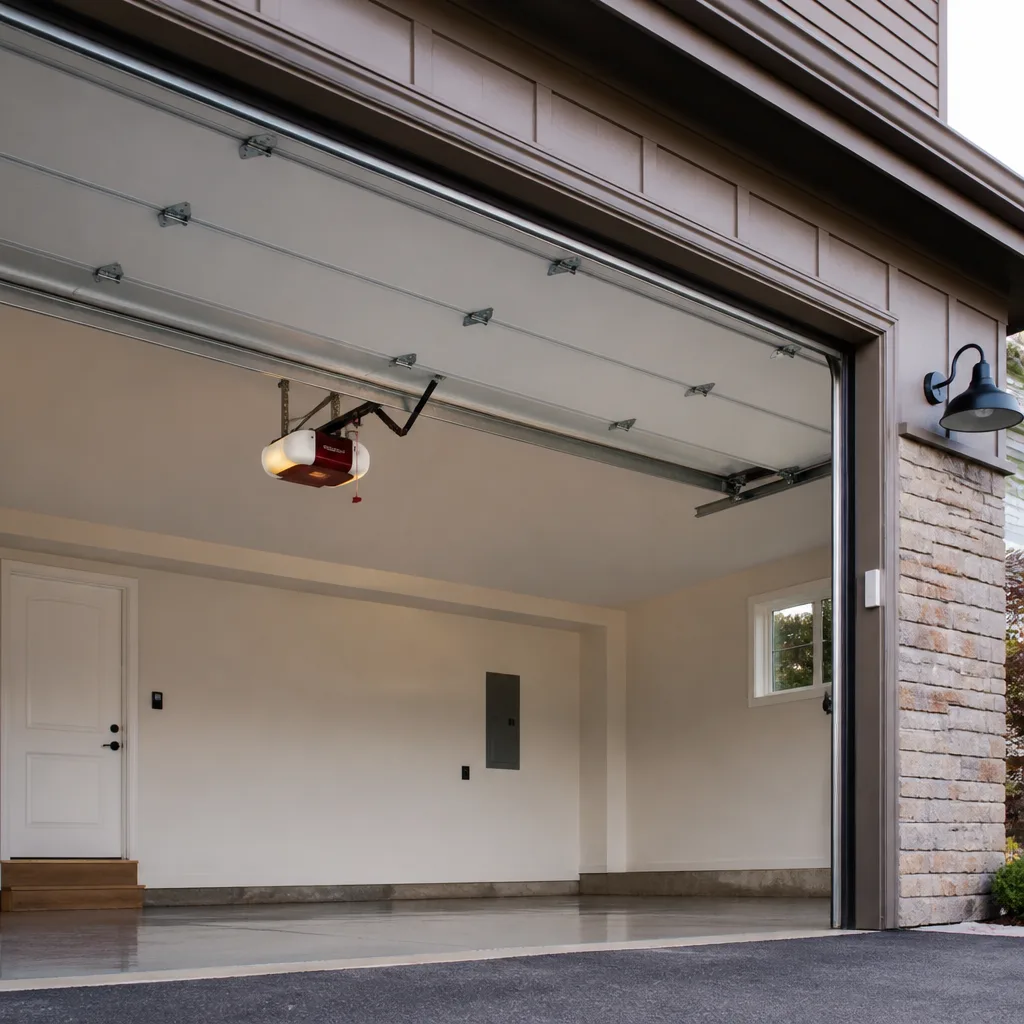 LiftMaster openers
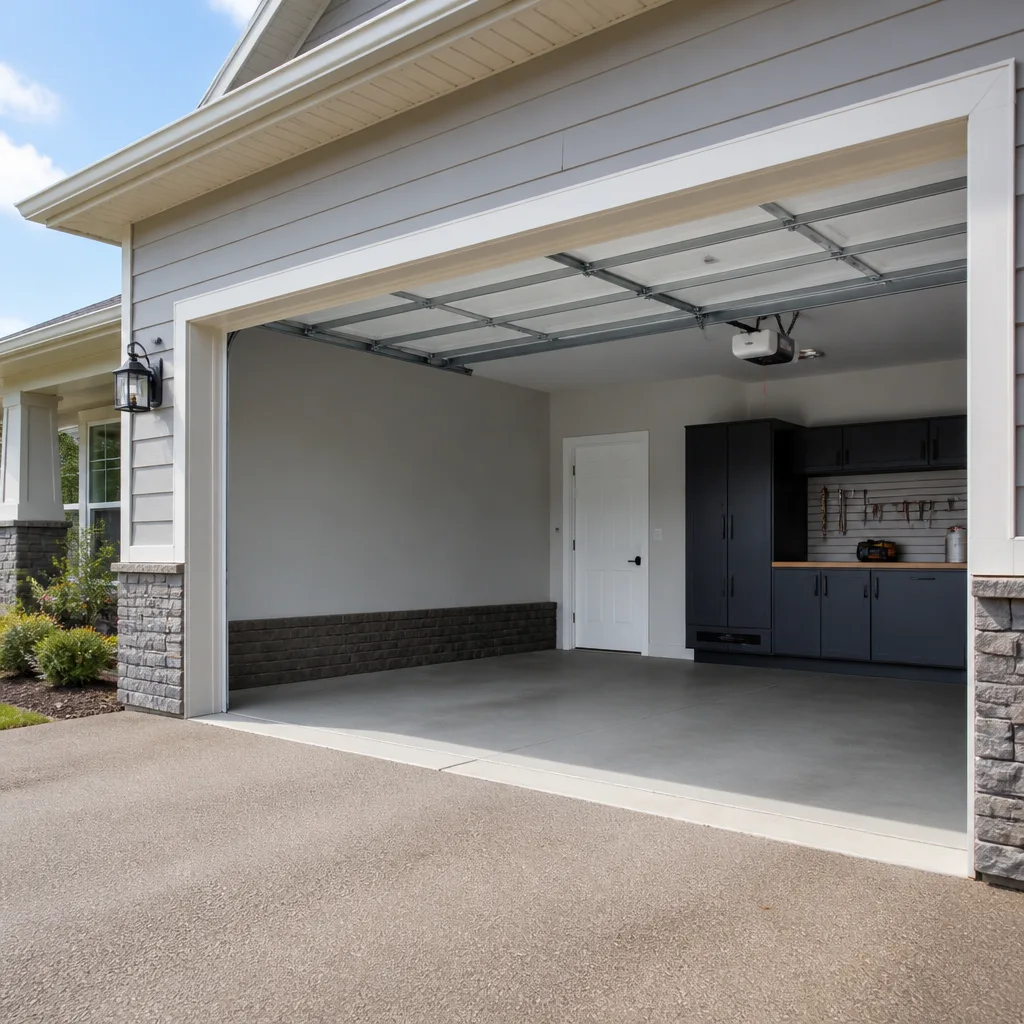 Chamberlain openers
Full 25-point door and opener safety check with every visit - springs, cables, rollers, tracks, and your LiftMaster or Chamberlain opener included
You get a price before we start. It does not change when the pro arrives.
Get your free estimateGarage Door Repair Troubleshooting in Greenville: Common Problems and How to Fix Them
A noisy garage door and a door that reverses before it closes look like two different problems. In our experience, they often trace back to the same misdiagnosed issue, and fixing the wrong thing first can add unnecessary cost to a repair that was simpler than it seemed. The trick is to match the symptom to the system instead of guessing. This guide maps the five mechanical categories most garage door faults fall into: noise, movement, sensor, remote and balance. For each one, we explain what the symptom usually signals, which checks you can handle safely and which ones should go straight to a trained technician. We cover Greenville throughout, including how the local temperature swings affect tracks and springs.
Quick Answer
Most garage door problems in Greenville fall into five categories: unusual noise, movement and travel faults, safety sensor faults, remote and opener faults, and balance or spring faults. Noise and sensor problems are often safe to diagnose yourself, while anything involving the springs, cables or the balance of the door should be handled by a trained technician. Matching the symptom to the right category before you call saves time and money, because the fix you need is usually one category over from the symptom you’re seeing.
Styles & brands we work with
- Raised-panel steel
- Carriage house
- Modern flush
- Full-view glass
- LiftMaster openers
- Chamberlain openers
Table of Contents
- The Symptom-to-System Diagnostic Matrix
- Why Is My Garage Door So Noisy?
- Why Does My Door Stop, Reverse or Travel Partway?
- The Limit Screws Most Homeowners Overlook
- Why Won’t My Door Close? Safety Sensor Troubleshooting
- Remote and Opener Problems That Look Electrical But Aren’t
- The Balance Test: What It Tells You About Spring Wear
- Which Fixes Are DIY-Safe and Which Carry Real Risk
- How Greenville Temperature Swings Create Fake Electrical Problems
- Common Mistakes to Avoid
- When to Call a Professional
- Frequently Asked Questions
The Symptom-to-System Diagnostic Matrix
The fastest way to troubleshoot a garage door is to stop chasing the symptom and start asking which system produces it. A door is a balance system, a drive system, a safety system and a structure, and nearly every complaint traces back to one of them. If you can name the system, you already know whether the next step is a screwdriver or a phone call.
Use this matrix as your first stop. Find the symptom in the left column, then follow the likely system and the recommended next move.
- Grinding, squealing or rattling – Likely system: rollers, hinges or tracks. Next move: inspect and lubricate (DIY-safe).
- Door reverses before touching the floor – Likely system: safety sensor or limit screw setting. Next move: check alignment first, then limit screws (DIY-safe).
- Door stops partway up or down – Likely system: limit screws or a binding track. Next move: check limits, look for obstructions (DIY-safe).
- Remote or keypad stopped working – Likely system: opener or radio interference. Next move: replace batteries, re-pair, check for LED interference (DIY-safe).
- Door feels heavy or slams shut – Likely system: springs, cables or balance. Next move: stop using it and call a technician.
- Door is crooked, off-track or visibly bent – Likely system: structure and cables. Next move: stop using it and call a technician.
- Opener runs but door doesn’t move – Likely system: drive system or broken spring. Next move: check the emergency release (DIY-safe on the surface), but assume spring failure until a technician confirms.
That matrix covers the vast majority of calls we handle in Greenville. The key insight is that the same symptom can come from different systems depending on age, brand and season. A Genie opener that reverses in January might be a limit issue; the same behavior in July might be a sensor misalignment caused by a swollen door frame. Context matters, which is why the sections below dig deeper into each category.
Why Is My Garage Door So Noisy?
Garage door noise is almost always mechanical friction, not electrical failure. The three most common culprits are dry rollers, worn nylon roller bearings and loose hinges, and all three produce different sounds. Learning to listen for the difference saves a service call.
Here’s what to listen for:
- Squealing or high-pitched whine – usually a dry metal roller or a worn bearing. Lubricating the roller axles and hinges with a garage door lubricant resolves most cases.
- Grinding or rumbling – typically a worn roller or a track that has shifted slightly out of alignment. Inspect each roller for flat spots and check that both vertical tracks sit parallel.
- Rattling – loose hinge bolts, loose bracket hardware or the panels themselves vibrating against each other. Tighten the bolts and check that the door panels aren’t separated.
- Loud banging on start or stop – often a sign of a failing spring or an opener running at the wrong force setting. If the banging is severe, stop using the door and get it looked at.
Greenville’s seasonal temperature swings play a role here. Metal tracks expand and contract through the year, and hardware that’s snug in the summer can loosen in the winter. That’s why a door that’s been quiet for months can suddenly start rattling in a cooler week. Lubrication helps, but a technician can also re-torque the hardware and check that the tracks haven’t shifted, which is often the root cause rather than just the symptom. If noise has been building over several seasons, that’s a sign the door needs a service visit rather than another round of spray.
Why Does My Door Stop, Reverse or Travel Partway?
A door that reverses before closing or stops partway through its travel usually has one of three causes: a misaligned safety sensor, a limit screw set too tight, or a binding track. It’s tempting to assume the opener is failing, but the opener is rarely the problem. It’s responding correctly to an input it doesn’t like.
Work through this sequence:
- Check the safety sensors first. Look at both the sending and receiving units near the floor. Each should have a steady light. If one is flickering or dark, the door will reverse automatically as a safety feature.
- Look for track obstructions. Shine a light up both vertical tracks and look for debris, a bent track edge or hardware that’s shifted inward.
- Check the limit screws. If the door consistently reverses at the same spot, the “down” limit screw is usually set too far. (More on this below.)
- Test the balance. A door that’s out of balance fights the opener, which can trigger a reversal even when the sensors and limits are fine.
- Listen for the opener’s diagnostic signal. Modern openers flash a light pattern when they detect an error. Chamberlain and LiftMaster units, in particular, use specific flash patterns that point straight to the fault.
In our experience, that sequence resolves about the same handful of issues on almost every “door reverses” call we handle in Greenville. If all four check out and the door still reverses, that’s when the opener’s circuit board or a failing spring becomes the likely cause, and it’s worth getting a technician to look before you start replacing parts.
The Limit Screws Most Homeowners Overlook
If your door reverses just before touching the floor or stops short on the way up, the limit screws are the single most common cause, and yet almost nobody thinks to check them. The limit screws tell the opener where “fully open” and “fully closed” actually are. Adjust them by a quarter-turn in the wrong direction and you’ll recreate the exact symptoms of a sensor fault or a spring failure. Adjust them correctly and the door travels normally again.
Before you touch anything, understand what you’re doing. Open the opener’s manual or look up the model number on the opener housing (LiftMaster, Chamberlain, Genie and Craftsman all use different screw layouts and directions). The “down” limit typically controls how far the door travels toward the floor, and the “up” limit controls how far it travels toward the ceiling. Turning a limit screw a very small amount (an eighth to a quarter turn) and then cycling the door once per turn is the correct method. Never turn a limit screw several full rotations at once.
Greenville homeowners often overlook this because the symptom mimics a sensor issue. If your sensors are both lit and aligned and your door still reverses at the same spot every time, limit screws are the next check. That single adjustment resolves a large share of the reversal and incomplete-travel complaints we hear, which is why it’s worth learning where your opener’s limit screws are and how they respond.
One warning: limit screws are safe to adjust on a properly installed opener, but if the door isn’t balanced or the springs are failing, limit adjustments only mask the problem. If the door feels heavy when you lift it by hand (with the opener disconnected), stop and call a technician. No limit setting fixes a failing spring.
Why Won’t My Door Close? Safety Sensor Troubleshooting
A door that refuses to close while its opener runs normally is almost always a safety sensor problem. The sensors are two small eyes at the base of the tracks, one sending and one receiving an infrared beam. If the beam is broken or the receiving eye can’t see the sending eye clearly, the door reverses by design. This is the most common garage door complaint after spring failure, and it’s also one of the safest to troubleshoot yourself.
Work through these checks in order:
- Look for an object in the beam path. Cobwebs, leaves, a stored broom, a kid’s toy – anything that crosses the beam will reverse the door.
- Check that each sensor has a steady light. If one is dark, unplug and reseat its connector. If both are lit but the door still reverses, the alignment is off.
- Align the sensors. Loosen the bracket, aim the sending eye so its beam hits the receiving eye squarely, then tighten. A small alignment tweak often solves the problem completely.
- Clean the lenses. Dust and pollen build up on the sensor eyes, especially in spring in Greenville, and a dirty lens can scatter the beam enough to trigger false reversals.
- Check for sunlight interference. Direct sun hitting a receiving eye at certain times of day can blind it. Shading the eye with a short hood or a piece of tape usually confirms the theory.
Sensor issues account for a huge share of “my door won’t close” calls, and most are resolved in a few minutes of physical inspection. If the sensors are aligned, clean and lit and the door still reverses, the fault is more likely the wiring, the opener’s logic board or a limit screw. That’s when it’s worth a technician visit rather than chasing the problem through replacements.
Remote and Opener Problems That Look Electrical But Aren’t
A remote that stops working feels electrical, and sometimes it is. But in most cases, the fix has nothing to do with wiring. Dead batteries, interference, an unpaired remote or a stuck wall button are the usual suspects, and all four are safe to check yourself before you consider a service call.
The most common causes and their fixes:
- Dead battery. Even a remote that clicks when you press it can have a weak battery. Replace it first; it’s the cheapest possible fix.
- Unpaired remote. If the remote lost its memory (common after a power surge or a breaker trip), re-pair it using the opener’s learn button. Each brand uses a slightly different pairing procedure – LiftMaster and Chamberlain use the learn button on the back of the unit, Genie uses a similar pairing button, and Craftsman units often use the same method.
- Radio interference. LED bulbs, nearby WiFi routers and even a faulty doorbell transformer can drown out the remote signal. Try the door from a different angle or unplug nearby electronics briefly to test.
- Stuck wall button or shorted wire. If the door runs on its own or won’t respond at all, the wall button may be stuck closed, which overrides every other input.
- Opener logic lock. Many openers lock the remotes when the safety beam is triggered repeatedly. Cycling the opener or holding the wall button for a few seconds clears the lock on most models.
If you’ve replaced the battery, re-paired the remote and checked the wall button, and the door still won’t respond to the remote while it responds fine to the wall button, the issue is likely inside the opener’s radio board. That’s a diagnostic worth handing to a technician, especially on modern smart openers where the radio board is integrated with the logic board. We work on your brand across both the modern LiftMaster and Chamberlain smart-home systems and older legacy openers, so brand-specific quirks don’t slow down the diagnosis.
The Balance Test: What It Tells You About Spring Wear
The balance test is the single most useful check a homeowner can perform on a garage door, and it’s also the one most people skip. It tells you whether the springs are still doing their job, and a failing balance is the leading early warning sign of a spring that’s about to break. If the door doesn’t balance, you’ve found your root cause before the failure – not after.
Here’s how to perform it safely:
- Close the door fully so it’s resting on the ground.
- Disconnect the opener using the emergency release cord. The door should now be under spring tension only.
- Lift the door manually to about waist height, no higher, with both hands on the bottom section. Lift slowly.
- Let go and watch. A balanced door will sit still at that height. A door that drops to the floor has weak or broken springs. A door that rises on its own has springs that are over-tensioned or a door that’s too light for the setup.
What the result means is more important than the test itself. A door that falls when released is a door that needs spring service, and you should stop using the opener until it’s checked. A door that balances but feels heavy still has wear, and it’s worth having a technician measure it. This is the test we encourage every Greenville homeowner to run twice a year, once when the weather turns cool and once in early summer, because spring wear accelerates with temperature swings. If you find the door drops when released, that’s a spring repair job: one of the few garage door jobs where we tell homeowners not to touch the hardware themselves.
Springs are under extreme tension, and the danger is real. We never recommend homeowners attempt to remove, adjust or replace torsion springs or extension springs. The balance test tells you the door needs attention. It is not a green light to open the spring assembly.
Which Fixes Are DIY-Safe and Which Carry Real Risk
Garage door repair splits into two categories: the fixes a homeowner can safely handle on a stepladder and the fixes that carry a documented risk of serious injury. Knowing where that line sits is the difference between a quick fix and a call to a hospital.
Safe to do yourself:
- Lubricating rollers, hinges and tracks with a garage door lubricant.
- Cleaning safety sensor lenses and realigning the sensor brackets.
- Replacing remote and keypad batteries.
- Re-pairing a remote to the opener.
- Clearing obstructions from the track and beam path.
- Performing the balance test with the door disconnected.
- Making small limit screw adjustments as described in the opener manual.
Not safe to do yourself:
- Removing, adjusting or replacing torsion or extension springs.
- Touching the lift cables.
- Removing the bottom bracket (the one with the cable tension).
- Adjusting or replacing the opener’s drive gear.
- Working on an opener that’s still powered (always unplug it first – though ideally, leave electrical work to a technician).
- Adjusting the spring tension itself, which requires specific tools and training.
The high-tension spring assembly is the most dangerous part of your door. A functioning torsion spring can hold enough stored energy to cause serious injury if it’s released incorrectly, and cables under tension can snap with enough force to break bones. There’s no version of “DIY spring repair” that’s worth the risk. That’s why our spring repair is a named, dedicated service – it’s the highest-risk repair in the trade, and it’s the one that should never be improvised. If you’ve reached this point in the guide and your symptom is spring-related, the right next move is a phone call, not a toolbox.
How Greenville Temperature Swings Create Fake Electrical Problems
Greenville’s seasonal temperature swings affect garage doors in ways that surprise homeowners. The door is mostly steel and aluminum, and both metals expand in heat and contract in cold. Tracks mounted to a garage wall will shift by small amounts as the seasons change, and springs lose a little tension in cold weather. The result is a door that behaves differently in January than it does in July, and often produces symptoms that look electrical but aren’t.
Here’s what actually happens:
- Cold-weather stiffness. Lubricant thickens in cold weather, especially in an unheated garage. A door that ran smoothly in fall may sound like it’s binding in winter. It’s often just cold grease, not a mechanical fault.
- Track contraction. As metal tracks contract, the door’s path narrows slightly. That can trigger a reversal or a sensor fault that wasn’t there in summer, purely from the door panels shifting a few millimeters.
- Spring tension loss. Springs lose some tension in cold weather, which makes the door feel heavier. A door that balances perfectly in summer might drop when released in winter.
- Panel expansion. In summer heat, steel door panels can expand and touch more snugly against the frame. Panels from Clopay, Amarr and Wayne Dalton are usually engineered for this, but older doors can bind.
If a symptom appears only during one season, that’s a strong signal it’s a thermal issue rather than an electrical one. Lubricating in late fall with a cold-weather-appropriate garage door lubricant, and checking the balance in both cold and warm weather, catches most of these problems before they turn into a failed open or a door that won’t close. In our experience, a lot of the “my opener failed” calls we get in Greenville in the cooler months are actually doors binding because the tracks have contracted. A technician can loosen the track bolts slightly, re-square the tracks and restore normal travel without touching the opener at all.
Common Mistakes to Avoid
- Assuming the opener is broken when the door is the problem. Most “opener won’t work” issues are actually sensor misalignment or a limit screw setting. Check those first before considering a replacement opener.
- Overtightening limit screws in several turns at once. Adjust limits a quarter-turn at a time and test after each change. Large adjustments can push the door past its intended travel and damage the opener.
- Spraying WD-40 on the springs or hinges. WD-40 is a solvent, not a garage door lubricant. Use a proper lubricant made for garage door hardware and apply it to the rollers, hinges and axles, not the spring coil.
- Using the door after it fails the balance test. A door that drops when released is a door with a spring problem. Using the opener on it can snap a cable or throw the door off track in Greenville weather conditions within a few cycles.
- Ignoring one flickering sensor light. A sensor that flickers today will fail next week. Cleaning and aligning both sensors now costs nothing and prevents a stuck-door morning.
- Calling a general handyman for a spring job. Springs require specific tools and training. A general handyman is not the right call, and the risk is real. Match the technician to the trade.
- Replacing the opener when a new door would solve the actual problem. If you’re on a third opener repair in a year on an old door, the door is usually the root cause. It’s worth having a technician diagnose the door before buying another opener.
When to Call a Professional
Some garage door repairs are quick homeowner fixes. Others need a trained technician, and the key is knowing which is which. Call a professional immediately if:
- The door drops when you release it during the balance test.
- You see a broken spring (a visible gap in the coil).
- The door is off its track, crooked or visibly bent.
- A cable has snapped or is visibly slack.
- The door feels very heavy when you lift it manually.
- The opener runs but the door doesn’t move.
- The door has failed the sensor and limit checks and still reverses.
Greenville Garage Door Repair Pros offers free estimates in Greenville – call (855) 706-3964. We handle the full range of your door’s life, from a garage door repair on a single panel to a complete garage door installation when the door has reached the end of its service. If your opener has failed, we also cover garage door opener repair across the brands we know inside and out. For urgent situations – a broken spring in the morning, a door that won’t close before work – emergency garage door service is available. Our technicians have up to 11 years of experience, and the price is quoted and agreed before any work starts. Greenville Garage Door Repair Pros connects you with a vetted local pro who’s licensed and insured as their state requires.
Frequently Asked Questions
Garage door repair in Greenville typically costs between $95 and $450 for most common fixes, depending on the part and the job. Sensor realignment, remote re-pairing and limit screw adjustments often land in the lower part of that range, while spring repair, track realignment and opener logic board work sit higher. A written estimate sets the final price, and the price is quoted and agreed before any work starts. Call (855) 706-3964 for an exact quote – estimates are free.
Your door reverses before it hits the floor most often because of a misaligned safety sensor, a dirty sensor lens or a limit screw set too far. Check the sensor lights first; if both are steady and aligned, the limit screw is the next most likely cause. If all three check out and the door still reverses, the springs may be out of balance or the opener’s logic board may be at fault, which is worth a technician visit.
No. Garage door springs are under extreme tension and a spring failure can cause serious injury. This is one of the few garage door repairs we recommend no homeowner attempt, even with a full tutorial. Our spring repair is a dedicated service with trained technicians for exactly that reason.
We recommend performing the balance test twice a year: once in early fall, just before the cold season changes tension, and once in early summer. Greenville’s temperature swings accelerate spring wear, so twice a year keeps you ahead of a failing spring rather than behind it.
Cold weather stiffens lubricant and contracts the metal tracks, so a door that runs smoothly in summer can sound noisy in winter without any actual mechanical failure. Lubricating the rollers, hinges and tracks in late fall with a cold-weather-appropriate garage door lubricant is usually enough to fix it. If the noise persists after lubrication, a technician can check for hardware wear or track shift.
Yes – the local pro we connect you with is licensed and insured as their state requires. Greenville Garage Door Repair Pros is a dedicated garage door specialist, and we cover LiftMaster, Chamberlain, Genie, Clopay, Amarr, Wayne Dalton, Craftsman and Raynor equipment. Call (855) 706-3964 for an exact quote on your job – estimates are free.
The Bottom Line
Most garage door problems fall into five categories, and the category you’re dealing with tells you whether you need a screwdriver or a phone call. Noise, sensor alignment and remote issues are almost always DIY-safe. Spring, cable and balance problems are not, and no amount of troubleshooting justifies handling them yourself. The limit screw is the most underused fix on the list, and the balance test is the most underused diagnostic. Run both before you call. When the problem is clearly spring, balance, cable or track-related, call us. Greenville Garage Door Repair Pros covers the full life of your door – repair, installation, opener repair and emergency service – across the 8 major brands. Your garage door is your home’s largest moving part, and it’s worth diagnosing correctly the first time.
Written by the team at Greenville Garage Door Repair Pros.
See the difference
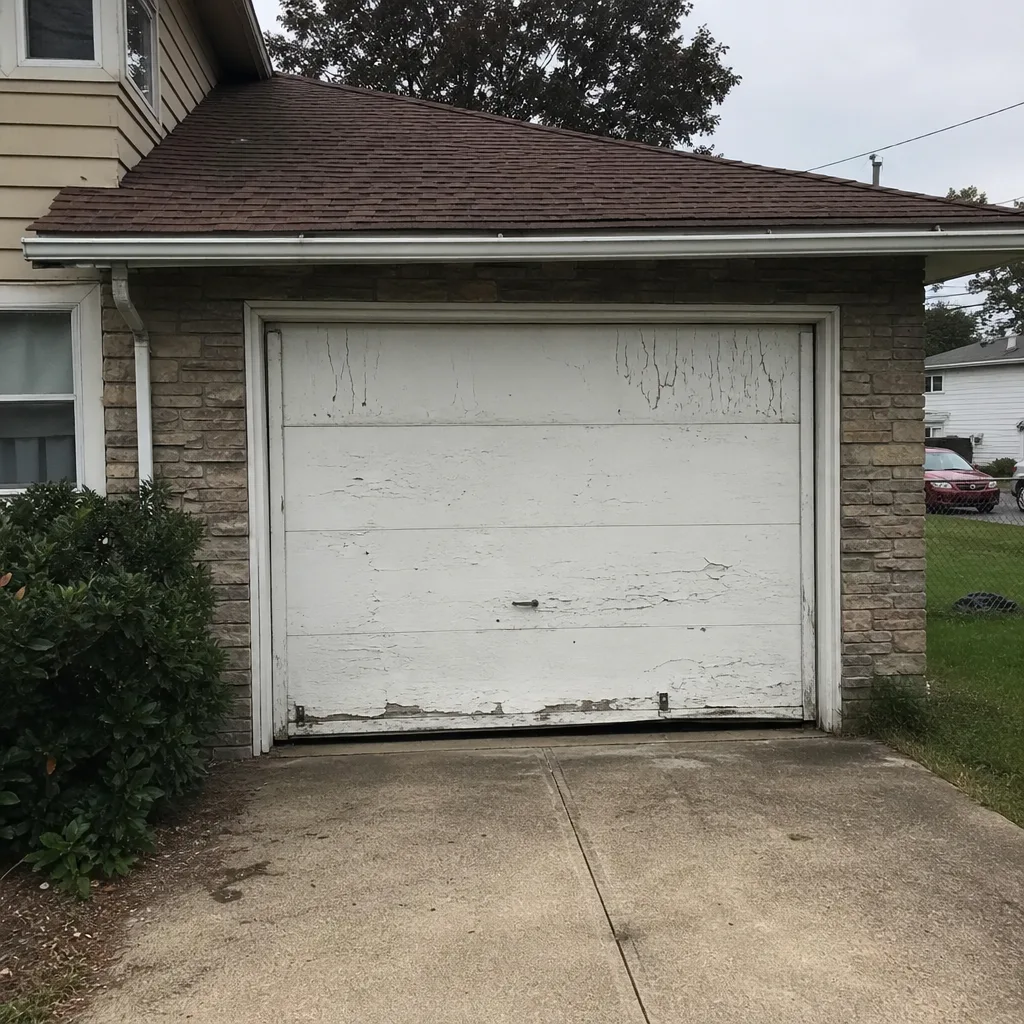 Before
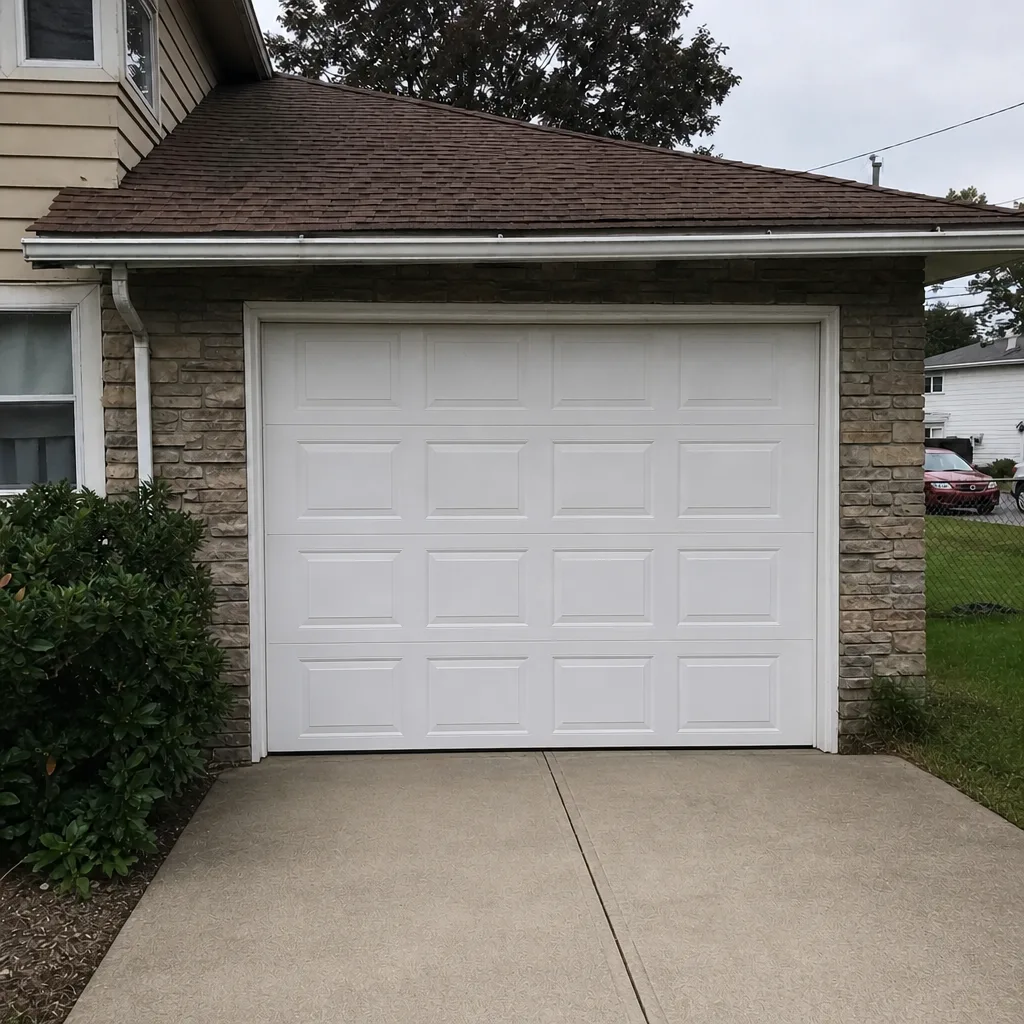 After
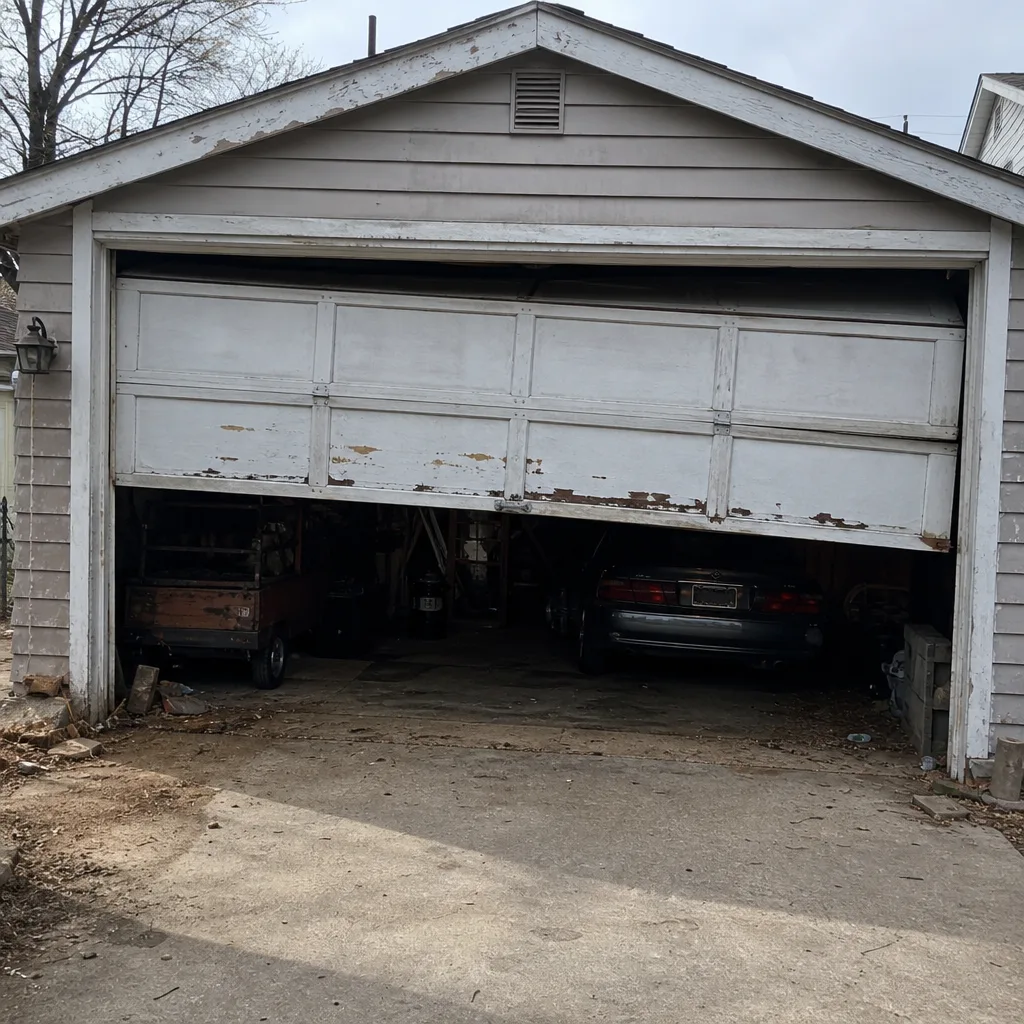 Before
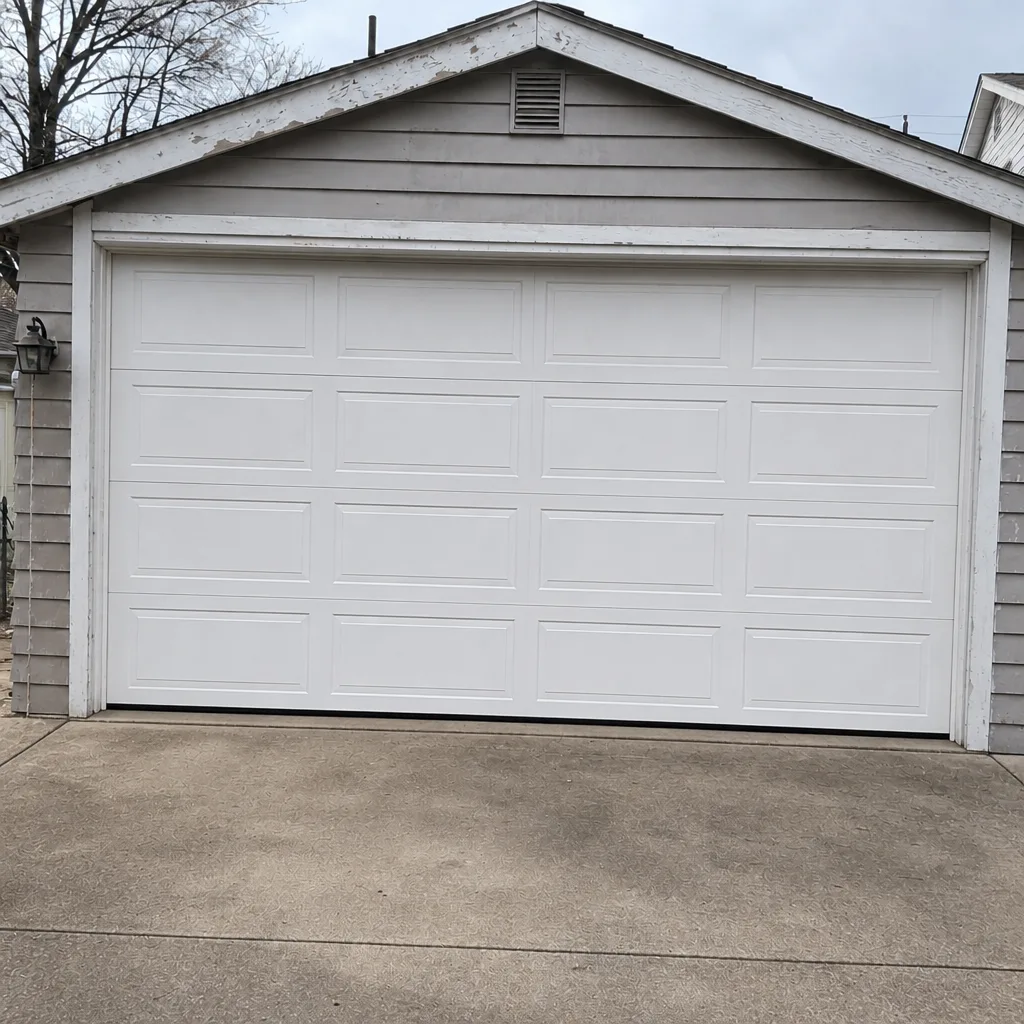 After
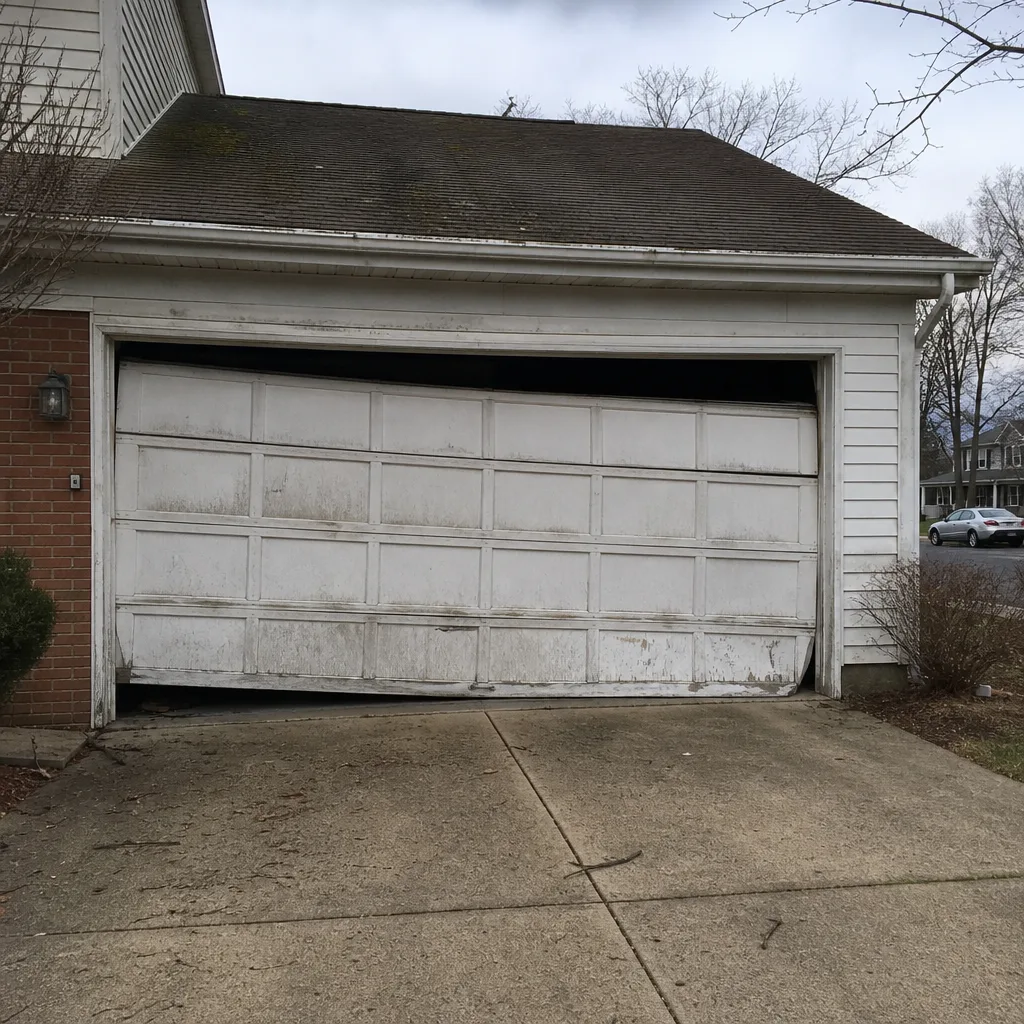 Before
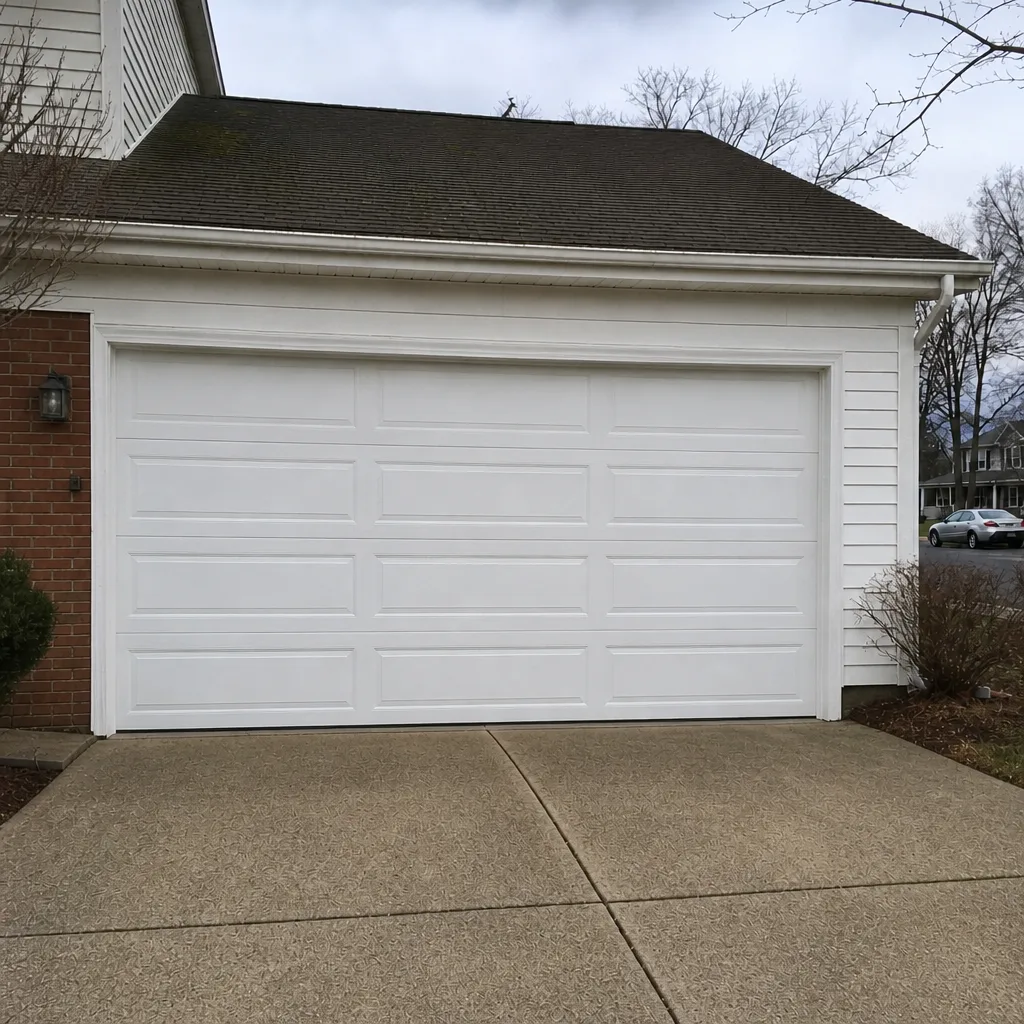 After